Data Import is George's solution for creating thousands of payment orders at a time. If you’re paying salaries, bills, or regular standing orders: with just a few clicks, you can transform your ERP files into signed orders.

Last Article Update 16.04.2026
Data Import is George's solution for creating thousands of payment orders at a time. If you’re paying salaries, bills, or regular standing orders: with just a few clicks, you can transform your ERP files into signed orders.
1. In your "Overview" sidebar navigation, select "New Order" -> "Data Import".

2. Welcome to your Data Import Manager. Here you can upload your ERP files and let George turn them into orders for you. You can drag and drop your files or click "Browse files" to select files manually.
3. Once you have selected all the files you'd like to upload, click "Upload file". You can select up to 10 files, with a max. size of 65 MB per file.
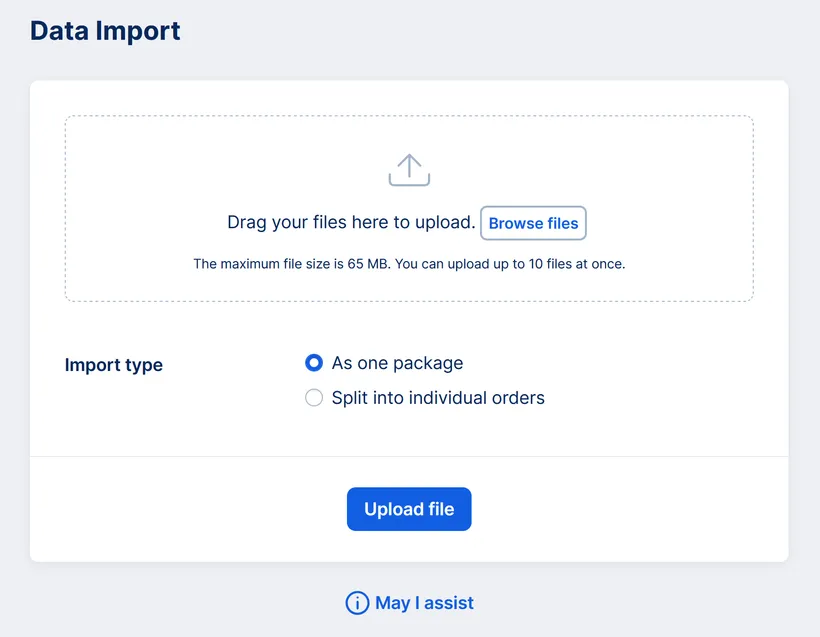
4. Depending on your user permissions, you may be able to select between two import types.
If you cannot choose between these two options, then George will automatically process your import as one package.
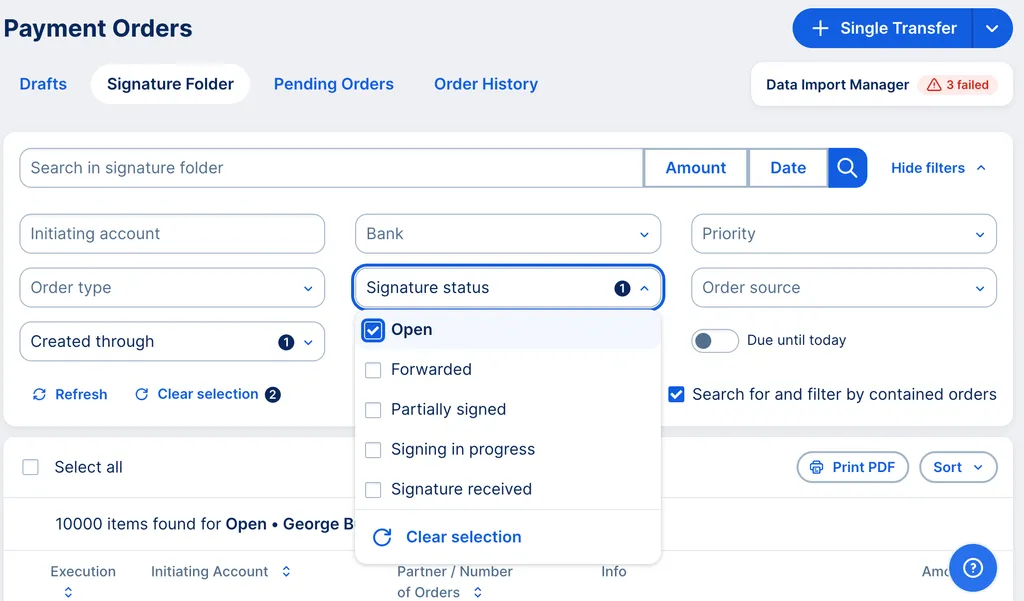
5. George will now upload your files. After that, you can sign your orders any time by going to Your Orders" -> "Payment Orders" in the left-side menu.
6. You can find recently imported orders faster using filters.

You can also filter by transfer date, amount, type and priority.
7. You can now sign your imported orders.
With George Business, you have the option of importing both an XML and a CSV file with multiple payment orders. Please use the templates provided for the import of CSV files:
SEPA credit transfer (in German Language):
Non-SEPA credit transfer (in German language):
SEPA direct debit (in German Language):
If you're unsure how to fill in the templates correctly, please check out the fill-in guide, where you will find specific instructions for transfers and SEPA Direct Debits:
Fill-in guide (in English language):
The Verification of Payee service is also available for data imports. As a George Business admin, you can activate the verification service for all data imports in your account settings. Alternatively, your ERP software may have an option to activate the verification service. The information that George should perform a verification check will then be contained in the datacarrier that you upload. The datacarrier needs to be created in the newest pain.001 version (ISO-2019). If you want to check if your datacarrier contains the request for verification or not, you can look for the following values in your file:
VoPOptin: George will perform a Verification of Payee check on your imported orders.
VoPOptOut: George will not perform a Verification of Payee check on your imported orders.
You can activate the verification for individual bulk transfers inside the datacarrier, so that George will not check all imported orders.

If you'd like to request a verification check on individual orders, that option is available for some orders in the order list. Simply click on the three dots on the right side of the order, and select "Verify". After verification, you can also check the verification status of any order in the order list.

Author: Rebecca Stoll